This is my step by step, practiced, tweaked and perfected sourdough recipe. I have also included links to resources that have been helpful to me, as well as walking through how I first made my sourdough starter from scratch. Sourdough feels overwhelming, but it truly can be a very enjoyable process, as well as being rewarding (and addicting). I hope this inspires you to give it a try!
Sourdough Starter:
Some people are gifted sourdough starter, which can be a great way to start and skip some of these initial steps. However, making from scratch is actually pretty easy and was kind of a cool process. I followed a recipe from King Arthur Flour for my sourdough and it was helpful in walking through the process, what sourdough discard is and was really helpful in answering all of your questions.
Additional helpful resources:
I have to thank HandmetheFork for getting me hooked on making sourdough. She showed how approachable the whole process can be and after my first loaf, I was hooked. I would suggest checking out her page as well. I follow part of her recipe quite closely, but I have made a few tweaks and have added in a few additional steps that I found helped strengthen my bread dough and make me more successful. A lot of those extra steps came from The Bread Code. When I tell you this man can answer truly any question you have about bread, I am not kidding. I find this and this article to be the most helpful. Enjoy and make one of my many many toast recipes with your delicious homemade sourdough!
Sourdough 101
Equipment
- Kitchen Scale I use a cheap Amazon Basics one
- Bench Scraper
- Bannetons (oval or round) I use round ones as I prefer that bread shape
- Lame bread knife I find that you can get an Amazon pack of a bench scraper, bannetons & lame knife all in one
Ingredients
Levain:
- 50 g Mature sourdough starter (follow the King Arthur article to know when your starter is mature)
- 50 g Bread flour
- 50 g Whole wheat flour
- 100 g Warm water
The Dough
- 600 g Bread flour
- 100 g Whole wheat flour
- 300 g All purpose flour
- 200 g Levain
- 730 g Warm water
- 20 g Fine salt
Instructions
For the Levain (7am)
- When you first wake up, make your levain. Levain is essentially freshly fed sourdough starter that will grow to be the 200g you need for your final product. Mix together your starter, bread flour, whole wheat flour, and water. Cover and leave in a warm place (where you keep your starter) until it is bubbly and doubled in size, around 5 hours. You can know you have enough when you have 200g so sometimes I will weigh to be sure and that helps me know that I am ready to proceed with the next step.
Bread Dough (11am)
- An hour before your levain is ready to use, mix bread flour, whole wheat flour, and All purpose flour with 730 g of warm water. You can use a "squeezing" technique to incorporate the water (I suggest watching The Bread Code Youtube to show exactly how to do that technique). Once the water and flour are full incorporated, cover and let rest for 1 hour. Everything you do from this point on will be to create stronger and stronger dough.
Combining bread dough & levain (12pm)
- After 1 hour, add 200 g of your levain to your dough mixture, spreading it out over the top of the dough. Repeat the squeezing technique until the 2 are full incorporated. Wait 30 min, and then add the salt, incorporating using the squeezing technique again. The dough will still be very sticky, so I like to use a little bit of water on my hands throughout this process to make it a little easier. Adding the salt strengthens, tightens and compacts the gluten protein network. Cover and let rest for 30 min
Building gluten strength: Bench kneading (12:30pm)
- Bench kneading is a process that helps strengthen the dough even more by using a dough scraper to stretch and fold it over itself (again, I suggest watching The Bread Code youtube to see exactly how to do this technique)
Building gluten strength: Lamination (1:00pm)
- Similar to bench kneading, lamination is another technique of stretching and folding the bread dough to build strength. The Bread Code youtube shows exactly what this should look like if you want an more in depth look. After performing the lamination technique, I divide the dough into 2.
Building gluten strength: Coil Folds (1:30pm)
- Next you will do a series of coil folds to each of your 2 doughs which is a simple technique that again, helps your bread build strength. You will do a total of 3 coil folds, 45 min apart. So,1 coil fold, cover and let rest for 45 min (1:30pm)1 coil fold, cover and let rest for 45 min (2:15pm)1 coil fold, cover and let rest for 4 hours. (3:00pm)
Final Shaping (7pm)
- One at a time, dump your dough out on a clean surface. You will see that one side of the dough is stickier than the other. Have the sticker side facing up and fold each side of the dough into itself. Watch this video to see exactly how that technique is performed. I like to also use my bench scraper to form it even more into a ball. Repeat with second dough. Add flour (most recipes suggest rice flour and I find it works well) to your bannetons and carefully scoop your dough into each one. Dust with a little more flour, cover and put into the fridge.
Next Day
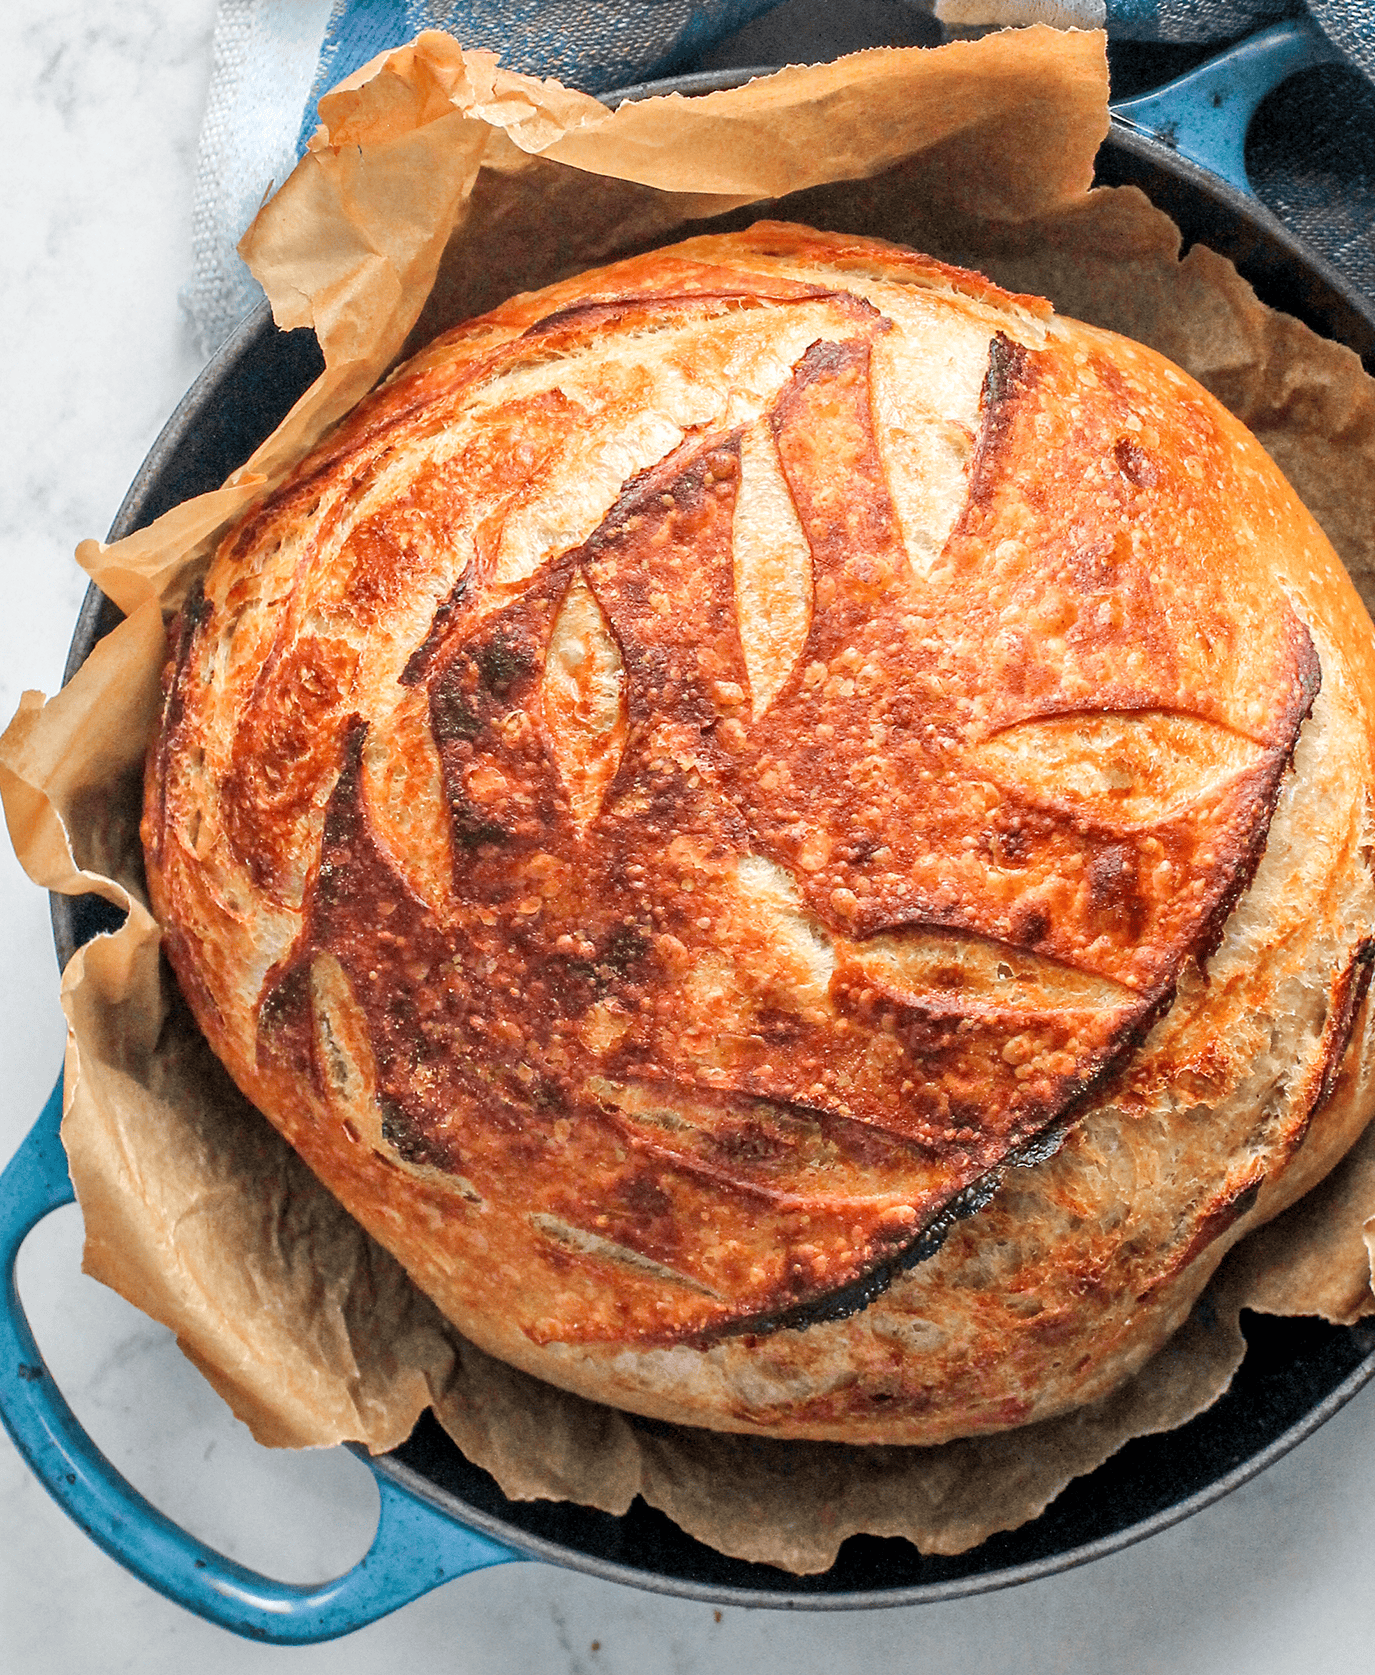
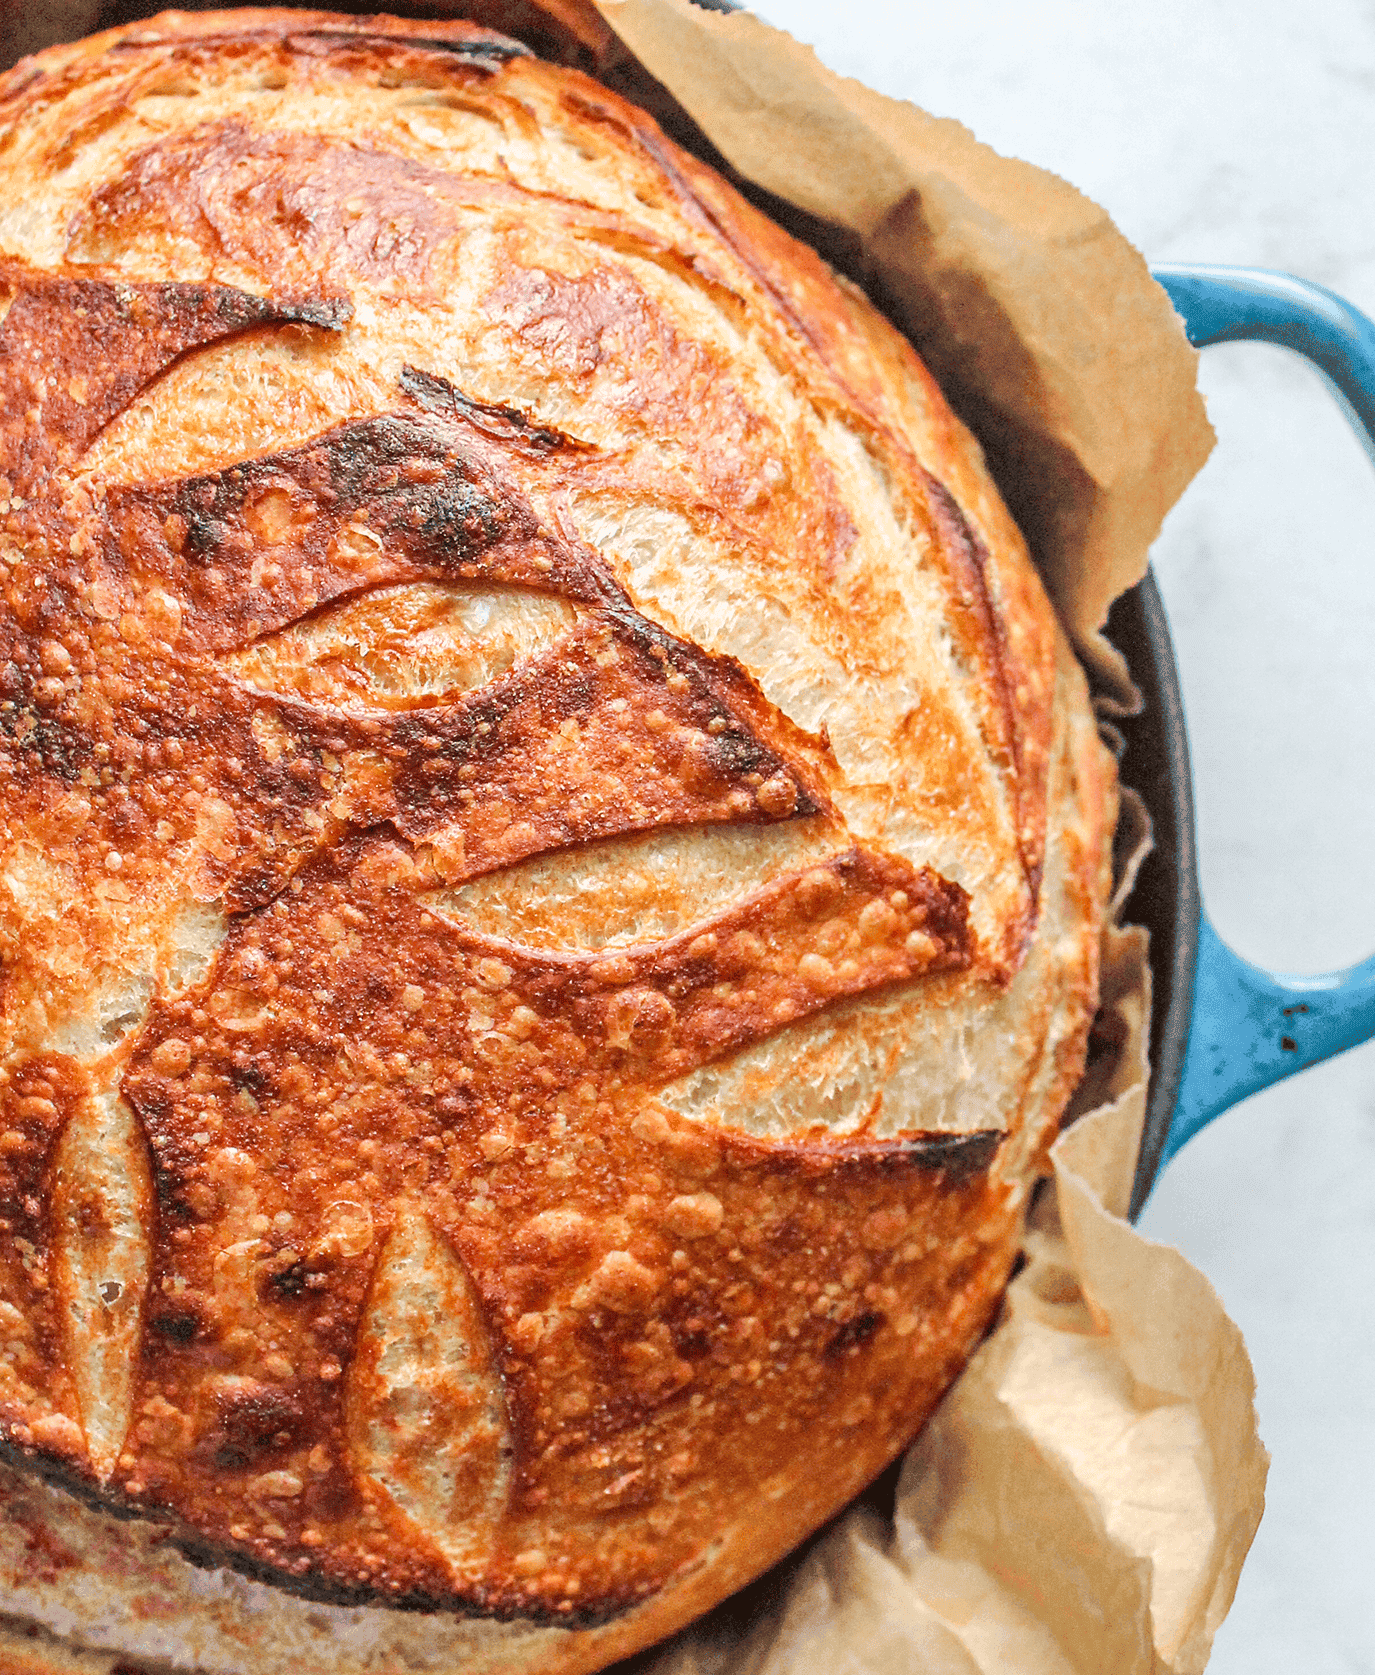
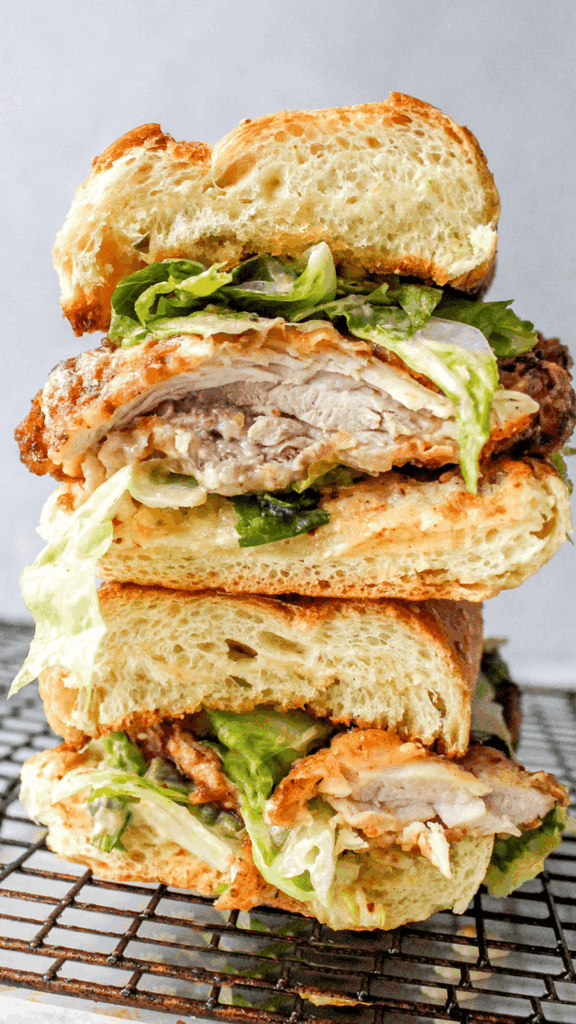
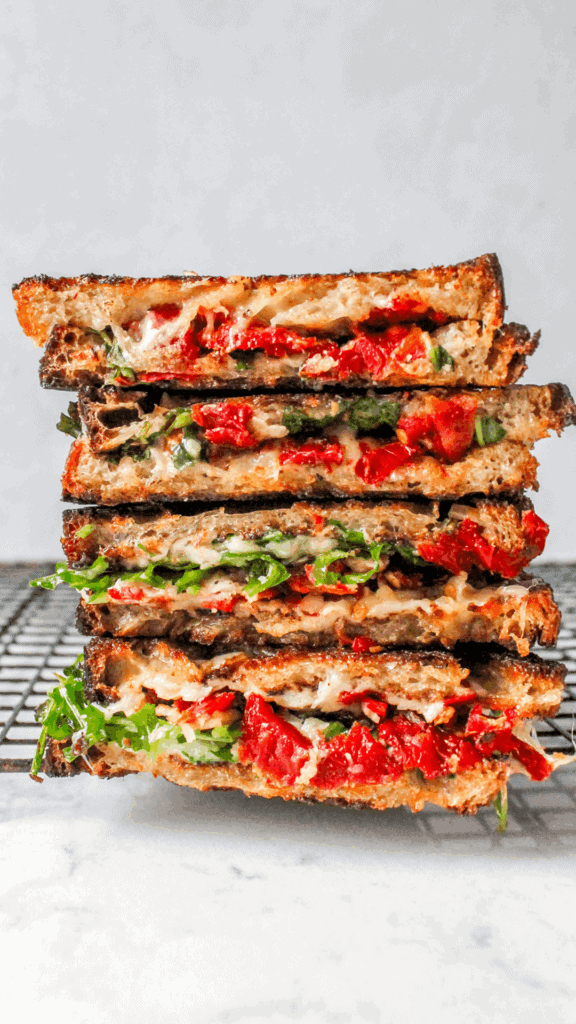
- Preheat oven to 500 degrees and add your dutch oven or bread oven to the oven so that it is hot. Remove bread from fridge (one at a time, don't remove the second loaf until you are ready to cook it). Carefully transfer bread to a piece of parchment paper and dust with more flour. Score your dough using a lame- I like to just do a curved line down each side with some other lines coming off of it, but you can really do what you want. The Bread Code suggesting also cutting at a 45 degree angle. When oven is preheated, transfer parchment paper to bread or dutch oven and add 1-2 ice cubes underneath and cover. This will allow for steam to be created. Cook for 20 min with the lid on, and then remove lid and cook for another 7 min or until the top is golden brown. Repeat with second loaf. Enjoy and make one of my many many toast recipes with your delicious homemade sourdough!


Made this recipe? Don’t gatekeep! Five stars? Chef’s kiss?
I’d love to hear it! Review or comment below.